
How to manage content writing for clients in Danto
Short answer
Create a Content writing board. Pieces move from Topics & briefs to Writing, then to Client review with a draft link, keyword and word count. Approved pieces are Ready to publish and end in Published with their live URL.
1. Create a Content writing board
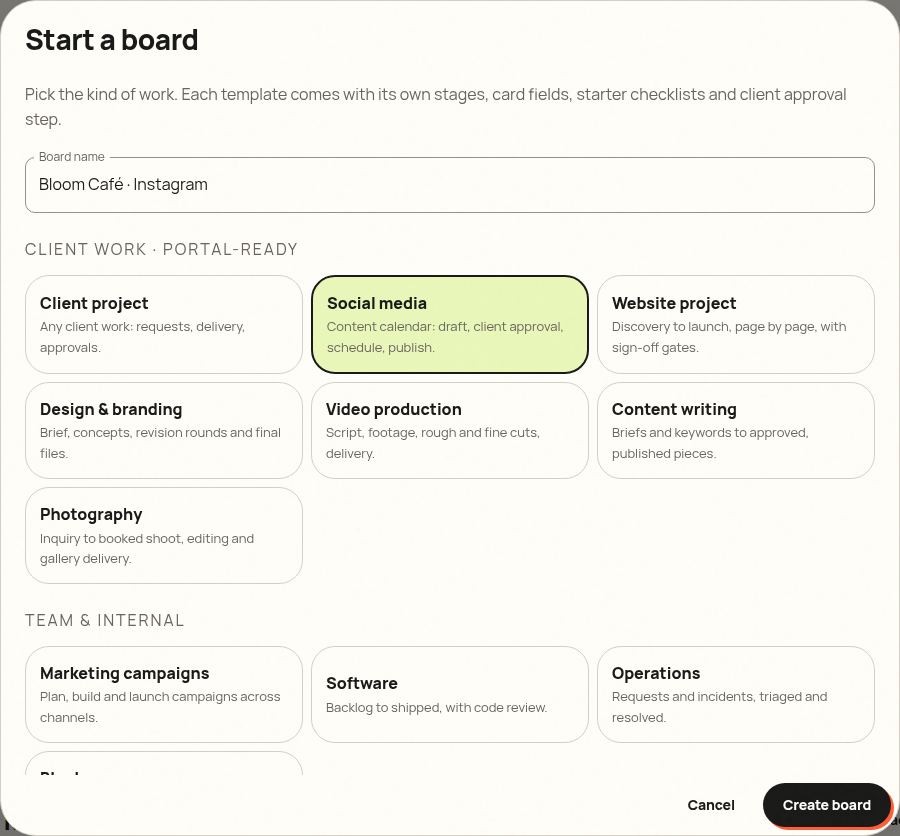
From your dashboard, click New board, name it after the client and project (for example “Ledgerly · Blog content”), choose Content writing and click Create board.
2. Know your stages
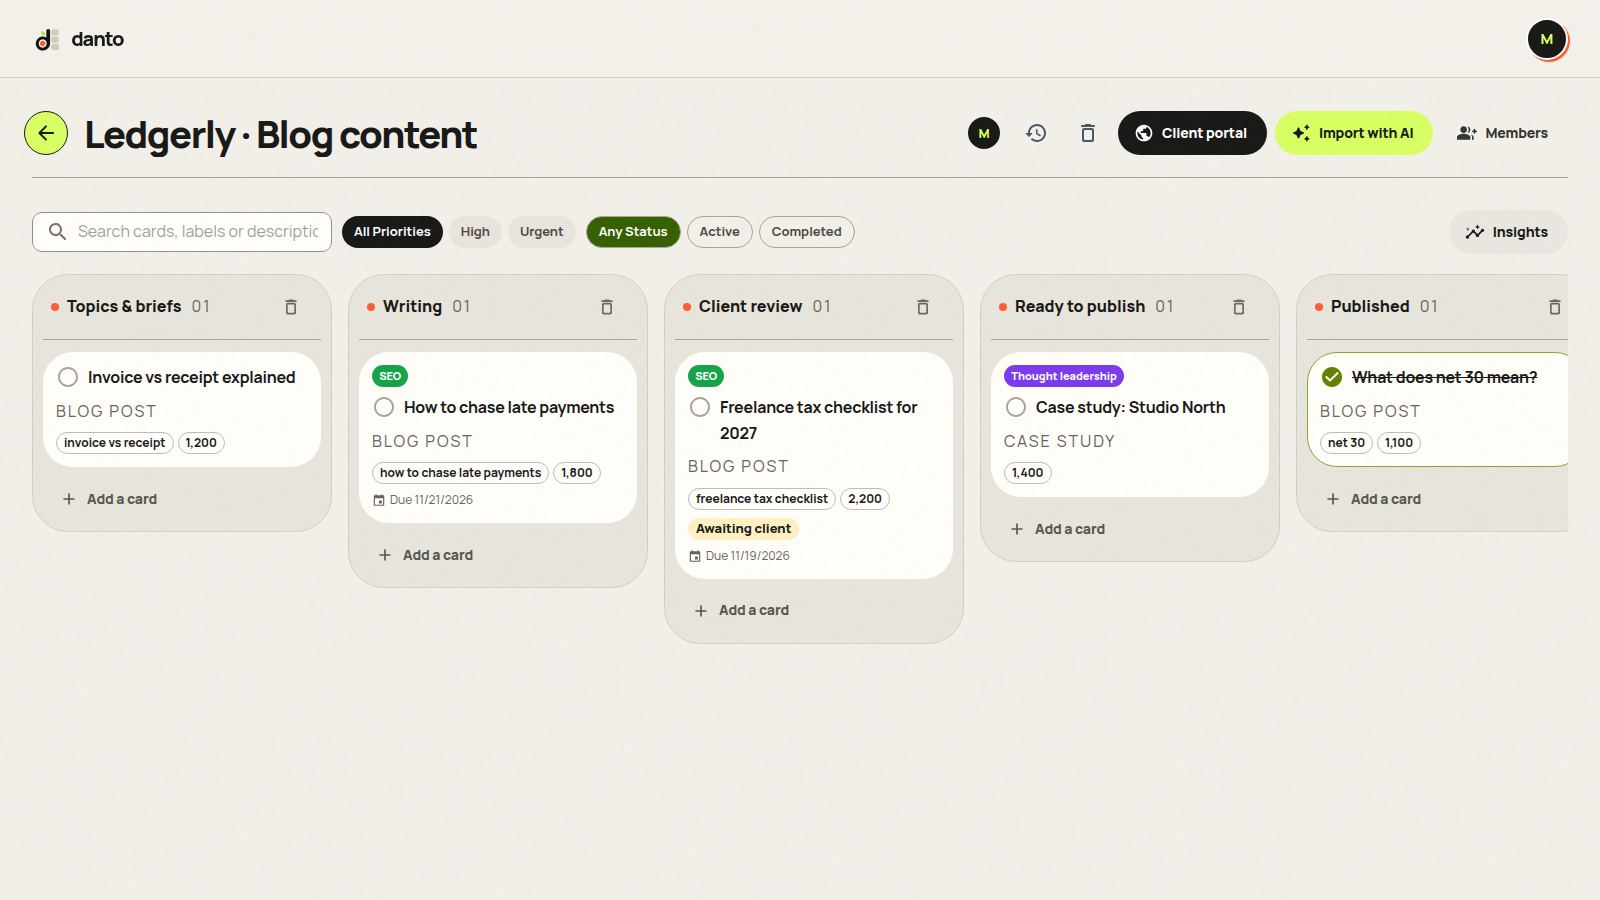
Agree the brief and keyword before writing. The card keeps them in front of you and the client.
- Topics & briefs: topic, keyword and angle
- Writing
- Client review: draft sent for approval
- Ready to publish: approved, waiting to go live
- Published
3. Add pieces and fill in the details
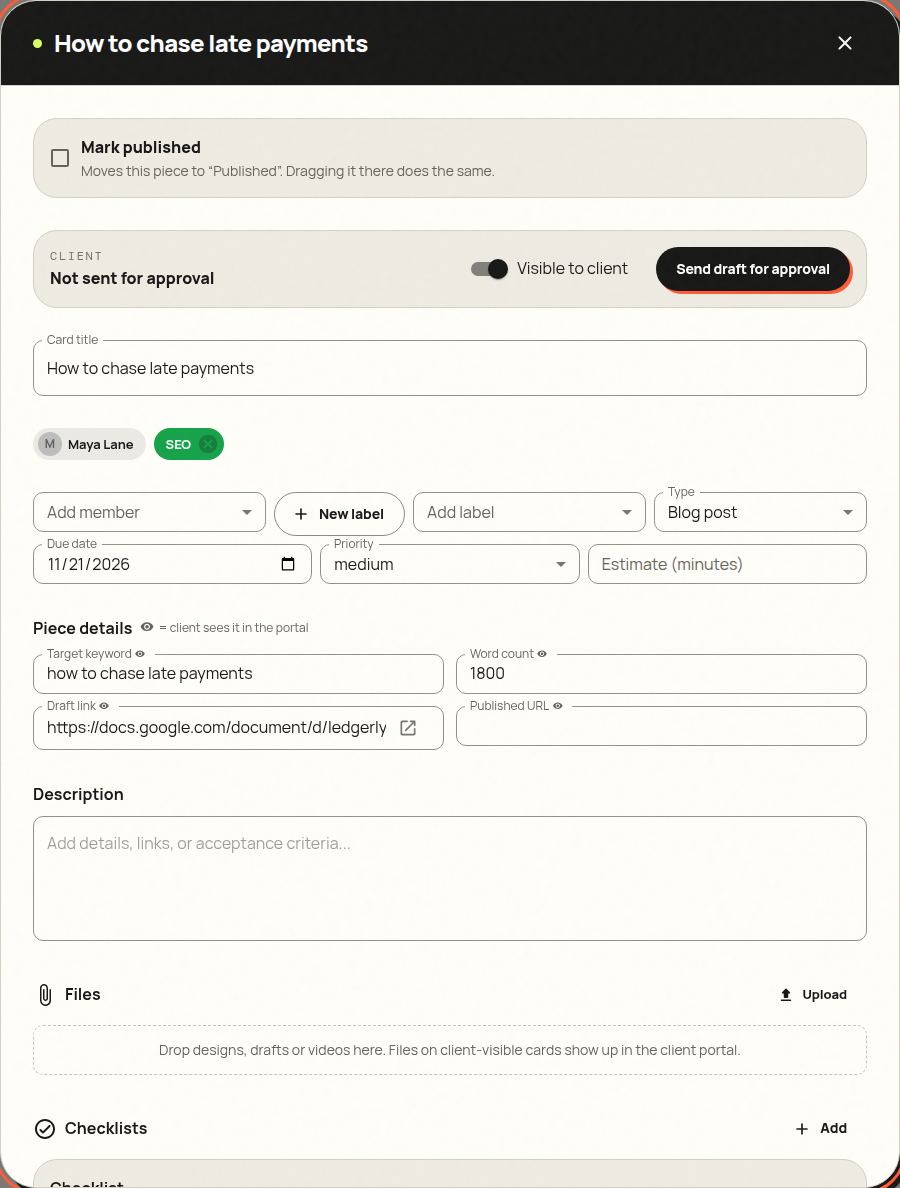
Click Add a card in any list. Choosing a type adds a starter checklist, and every card has a “Piece details” section with fields made for this work. The client sees all four fields.
- Target keyword
- Word count
- Draft link: Google Docs or similar
- Published URL
4. Send it to your client for approval
When a piece is ready, open it, keep “Visible to client” on and click Send draft for approval. The card moves into the review stage and your client gets an email with a link. They don't need an account.
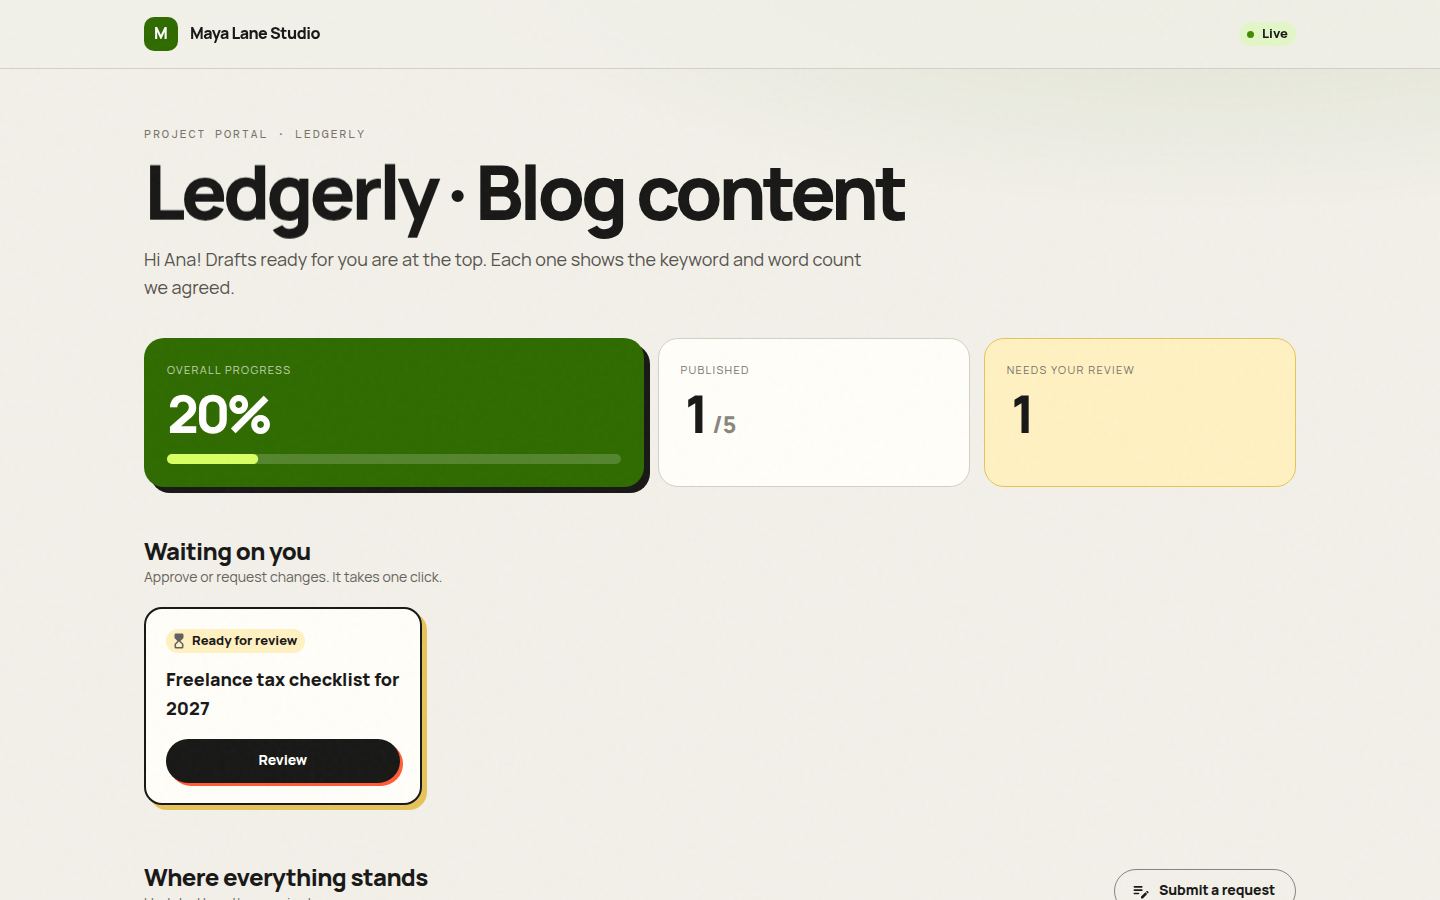
Clients see the keyword and length you agreed on, right on the draft waiting for them.
5. Your client approves or asks for changes
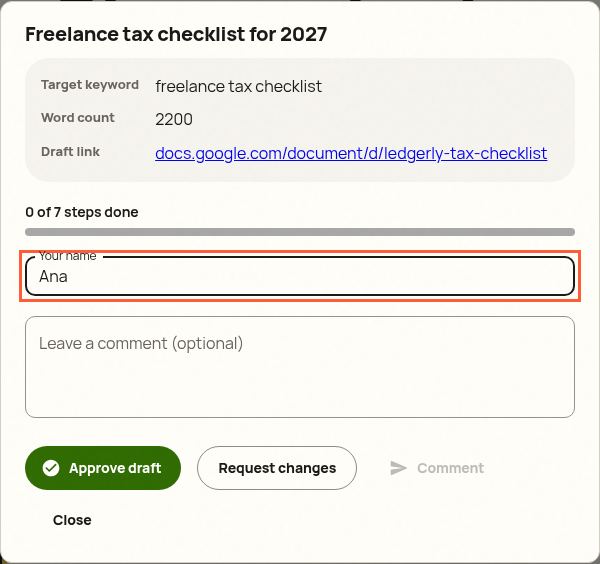
The client opens the piece, sees the details you shared, and clicks Approve draft or Request changes. Approving moves the card to the next stage for you. Requesting changes sends it back to your working stage with their comment, so nothing gets lost in email threads.
6. Finish with “Mark published”
Drag the card into Published, or tick Mark published in the card. Both do the same thing: the card counts as finished, and the client's progress bar moves. If you drag it back out, it's reopened.
Starter checklists
These are added automatically when you pick the card type. Edit or delete steps freely, and your client sees progress (“3 of 5 steps done”) without seeing your internal notes.
- Blog post: brief and keyword confirmed, outline approved, draft written, edited and proofread, meta title and description, images and alt text, internal links
Tips from people who do this work
- Get the outline approved first. It's the cheapest point to change direction.
- Use the Refresh label for updates to existing posts.
- Add the Published URL once it's live. It's proof of work for renewals.
Try it with your next client, free
Danto gives every client a live portal with one-click approvals and AI-written updates. One portal is free forever.
Create your free client portalFrequently asked questions
Will my client see everything on the board?
No. Clients see only cards with “Visible to client” on, and only fields marked with the eye icon. Internal pieces, labels and comments stay private.
Can the client edit the draft in Danto?
Edits stay in your Google Doc (or other editor). Danto holds the link, the approval and the conversation around it.